
I notch the blade at the bottom of the cutting edge to establish grinding parameters and to facilitate sharpening by the user.
I hollow grind the blades against an 8” serrated wheel utilizing a 60 grit 2”X72” sanding belt
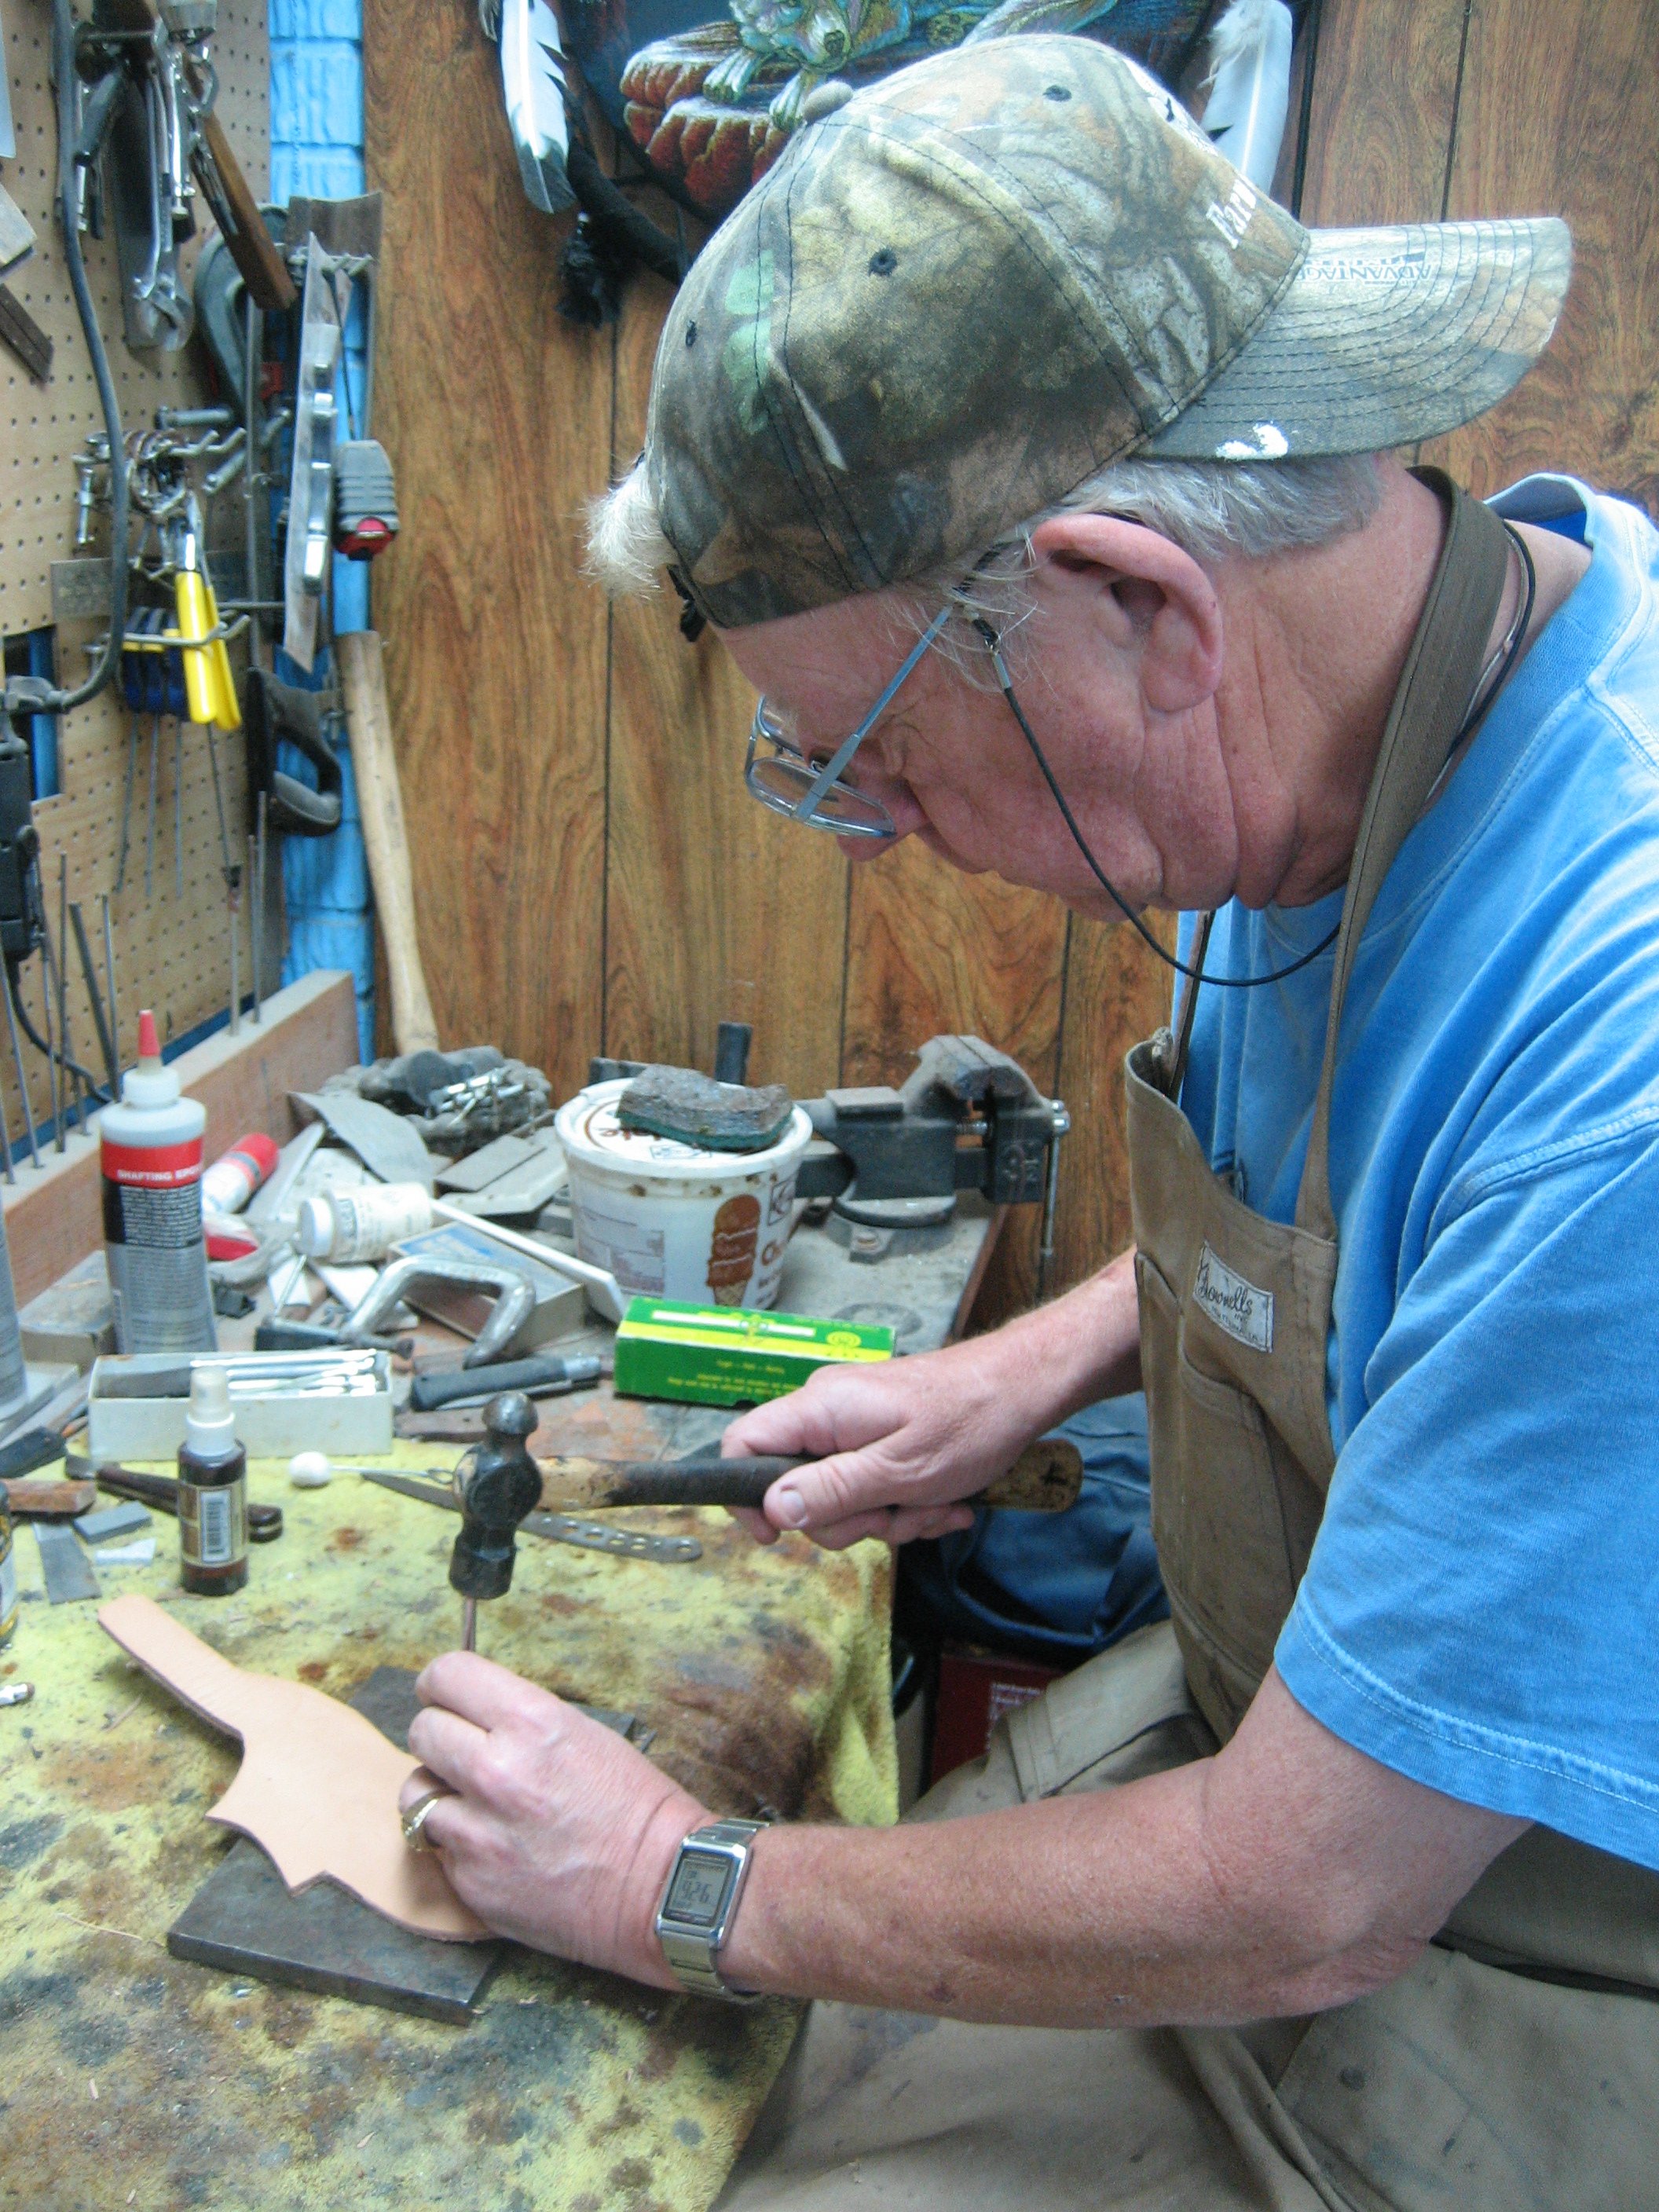
I do the filework on back of blades/handle using various sizes of chainsaw and 3-corner files (put the knives in a vise and hope I don't mess it up!!!)

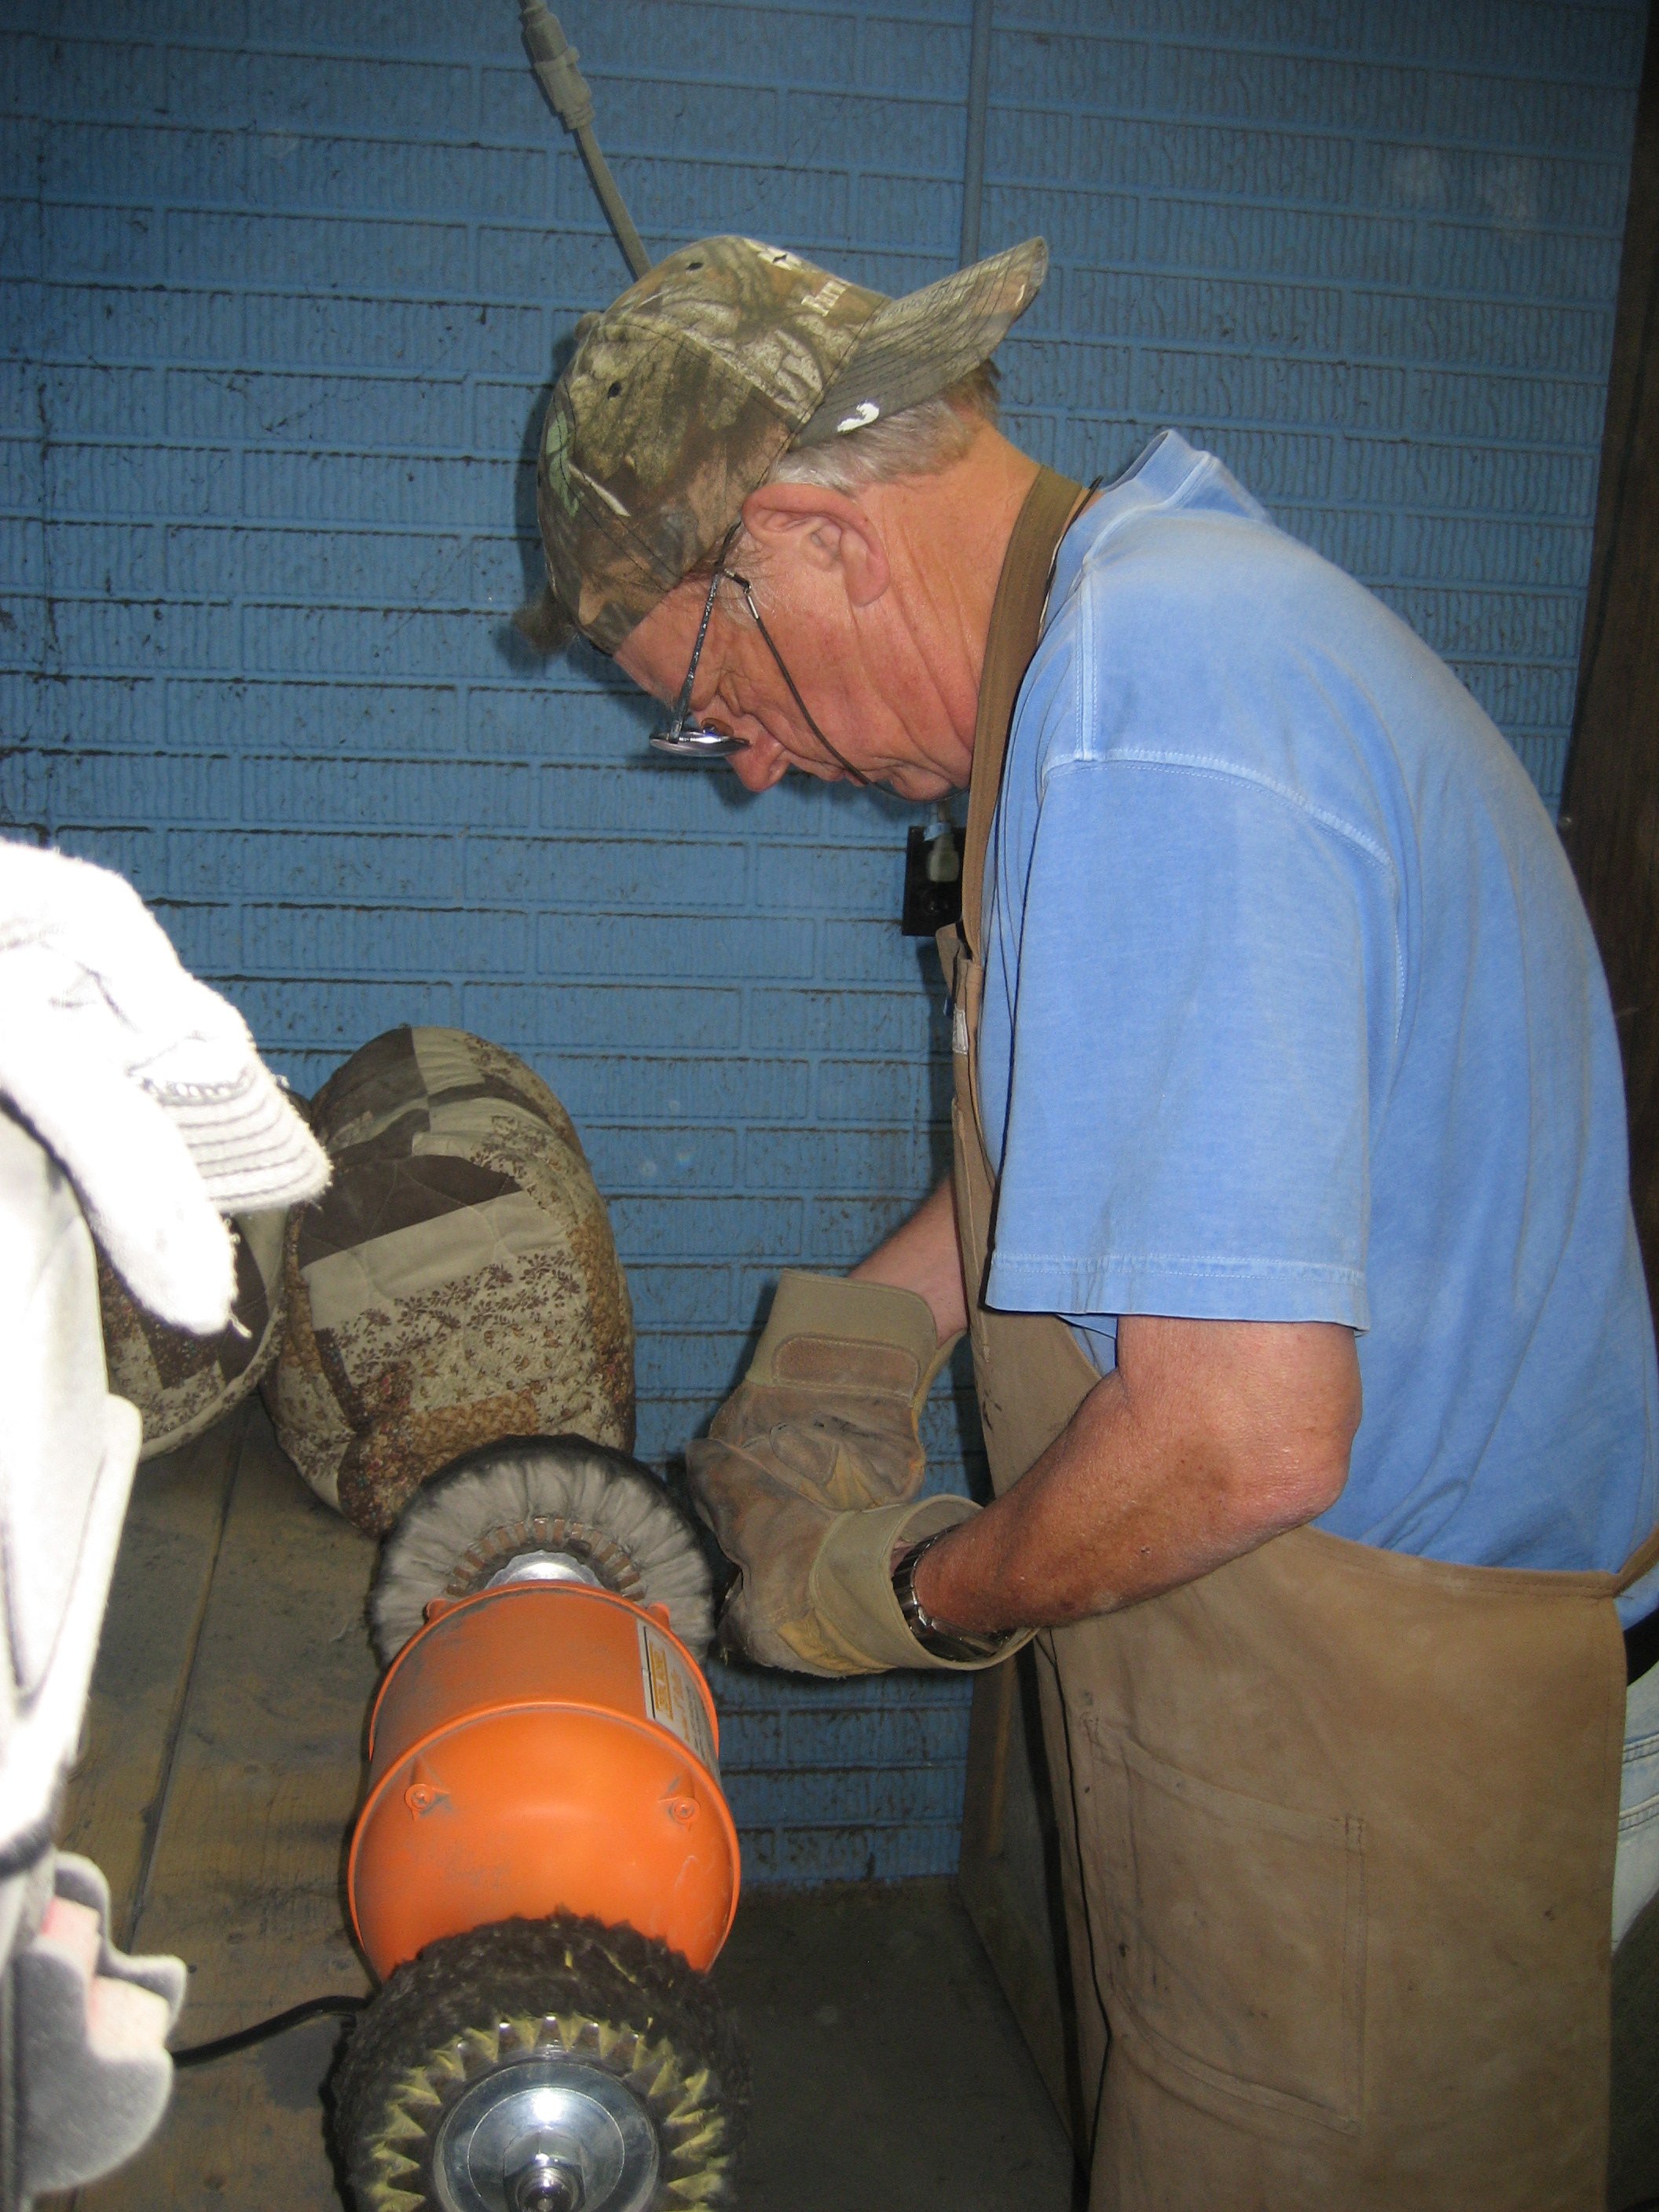
Then comes the buffing process, I use a series of 5 different buffing wheels of varying coarseness and buffing compounds to achieve a mirror polish.
I then attach bolsters through the use of two 3/32" pins which are peaned
I rebuff the blade
I drill pin holes in handle material then epoxy handle slabs and pins in place.
I contour handle and sand tang and back of blade down to 400 grit and buff to mirrorlike finish.
I utilize 440C stainless steel almost exclusively for my knives though I have done some work with ATS-34 and Damascus.
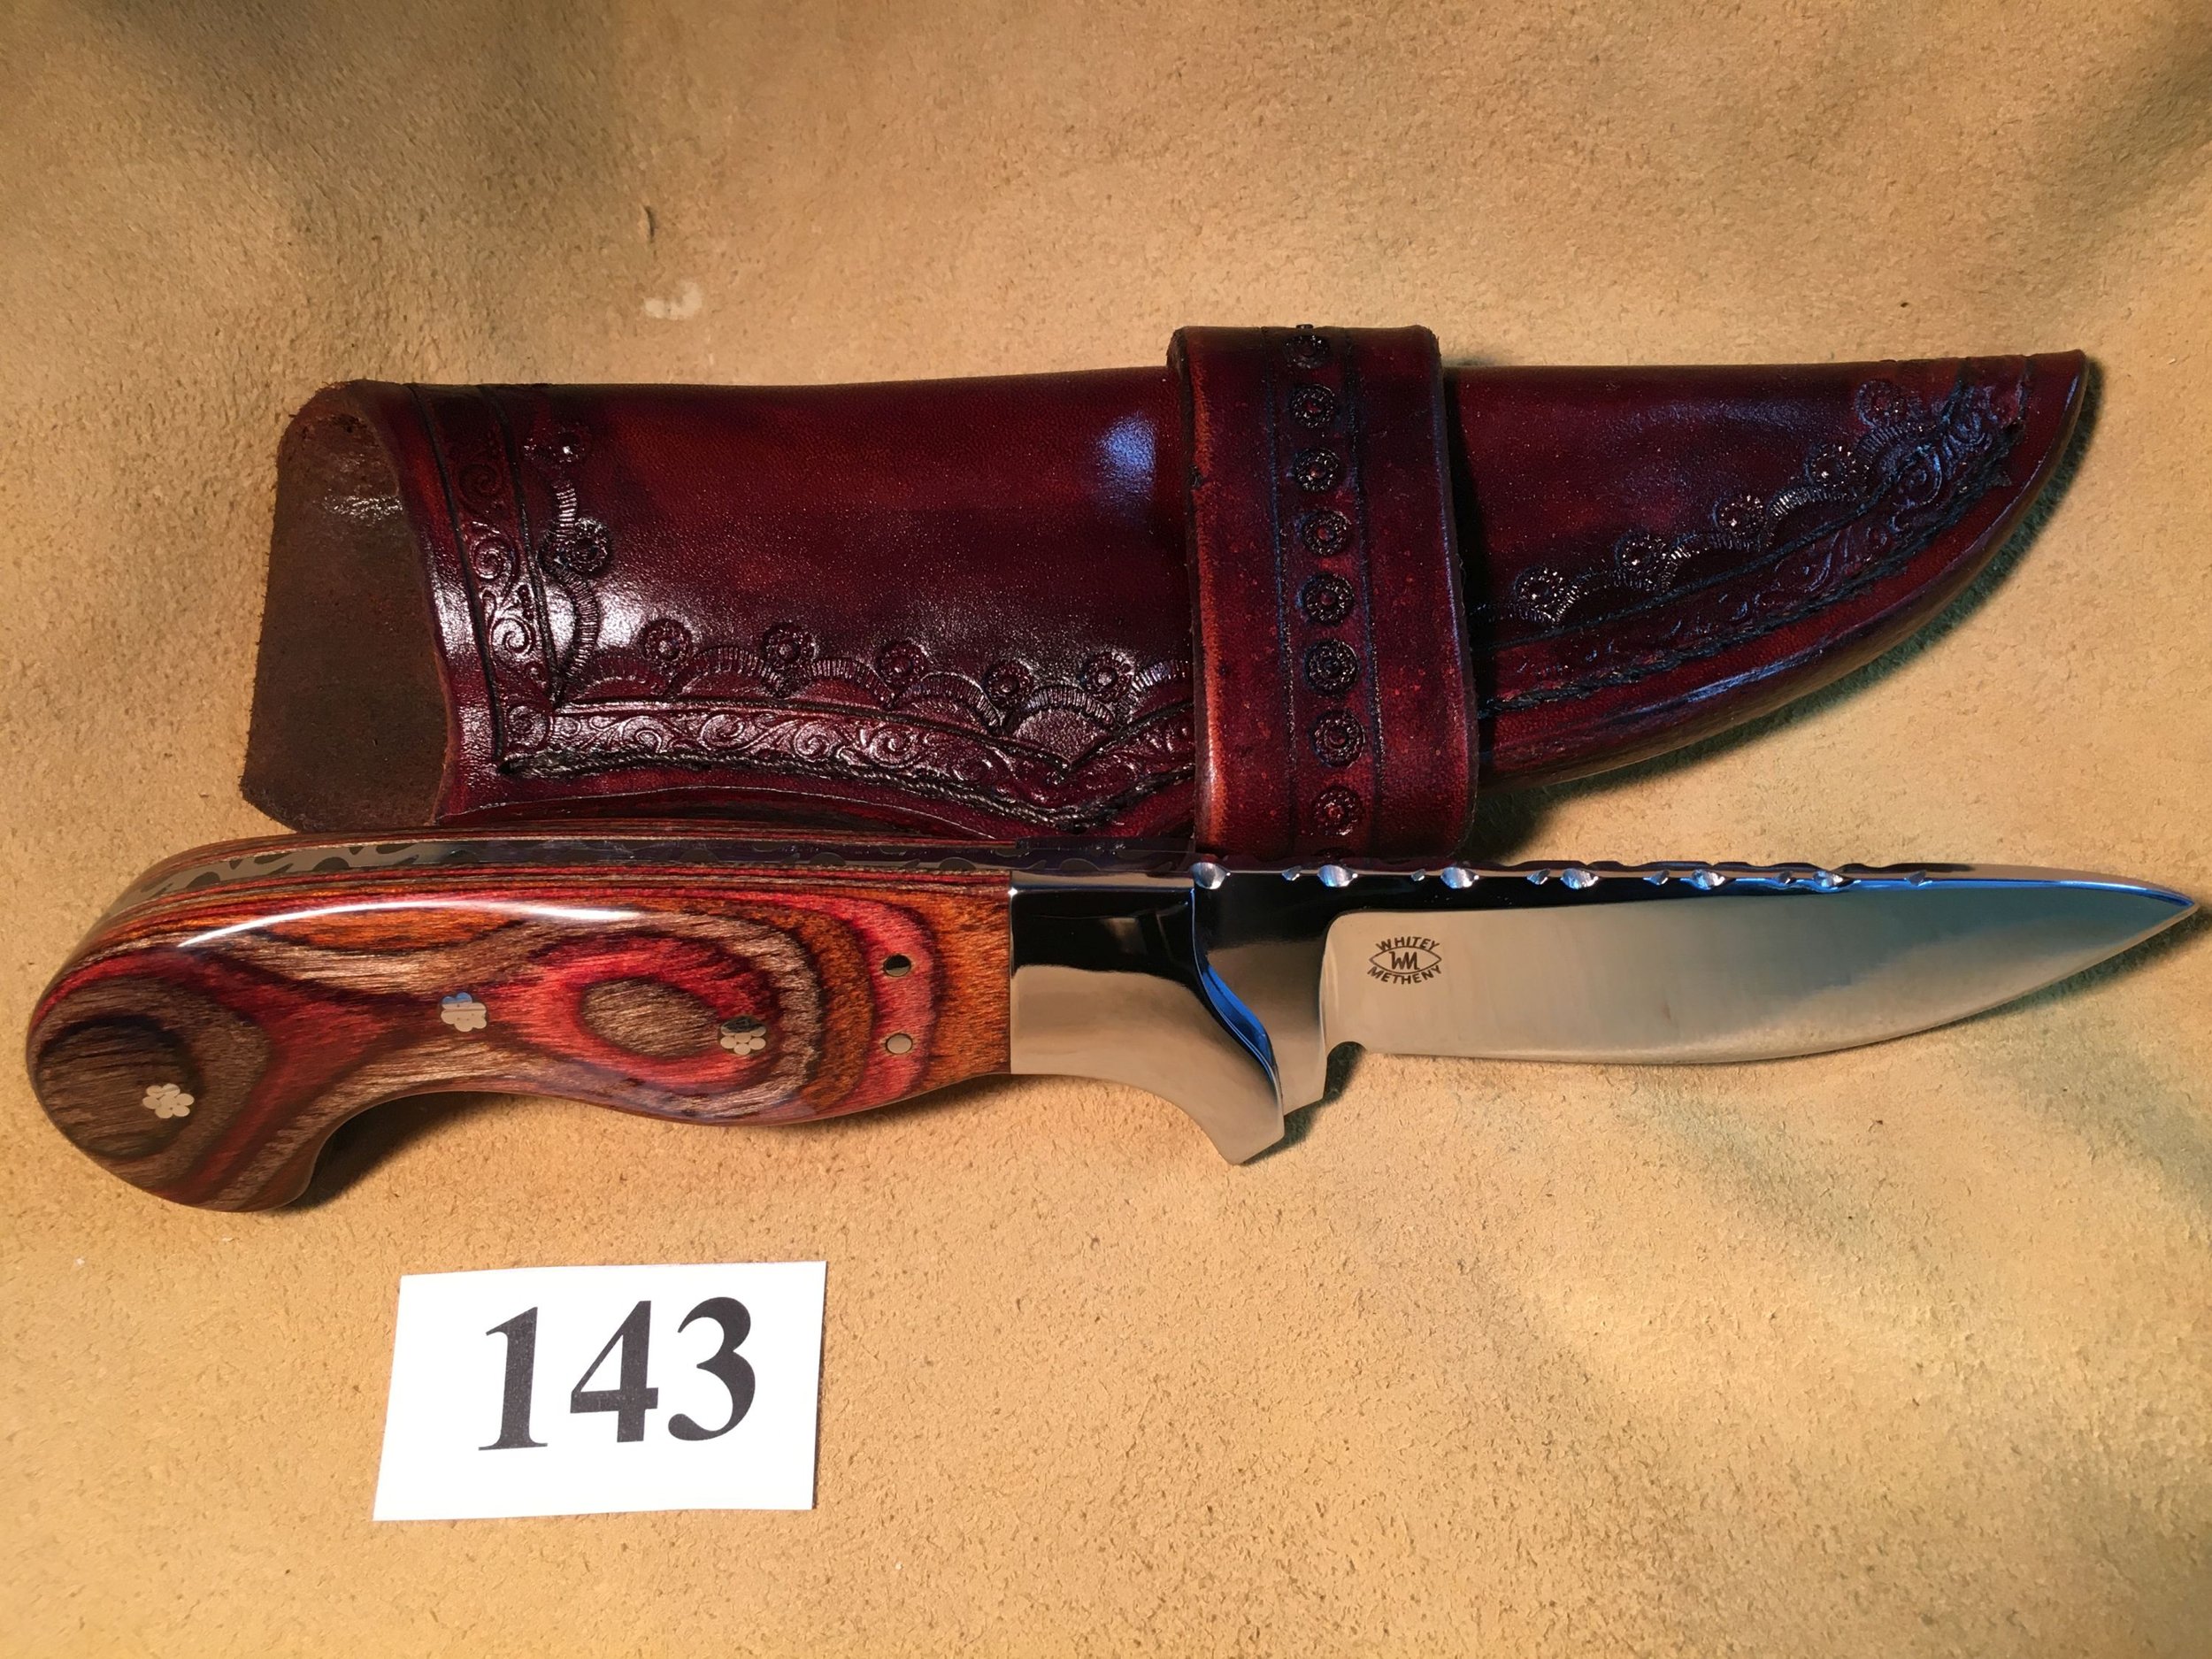
I use a variety of handle materials but my personal favorites are stabilized/dyed fancy burled woods (considerably more expensive but worth it on a handmade knife) including California buckeye, maple burl, redwood, black ash, box alder burl, coco bolo and desert ironwood. I also use pakkawood on some of my handles (this material is extremely durable and makes a very attractive handle in almost any color combination you may desire). Most handle materials are hand selected at national knife shows such as the Guild show or the Blade show in Atlanta.
I use almost exclusively stainless for bolsters, and pins (I tend to use a lot more stainless (brass and nickel tend to tarnish with time and require polishing) even though it is harder to finish)
For my sheaths I utilize 9-10 ounce vegetable tanned leather
How It’s Made
I sit at the kitchen table and draw the outline of a knife, either from one I've purchased or seen or just one from my mind. I use only a couple of handle designs that I know to be ergonomically correct and vary only the blade design/length etc.
I transfer the paper design to Corian and make a usable pattern from which to scribe on the steel.
I scribe the pattern on the 6-foot length of steel and rough cut the knife on a metal cutting bandsaw.
I profile the knife on my belt grinder (a Ron Wilson floor model design which uses a 2”X 72” inch sanding belt)
I utilize bolsters on most all of my knives and drill 3/32" holes as appropriate utilizing a drill press and a vice to assure holes are drilled straight.
I determine handle pin sizes and placement and drill holes as previously stated; I utilize almost exclusively 1/16" pins in a mosaic pattern and sometimes 3/32"pins to secure the knife scales.
I usually drill ½" holes in the handle to facilitate an ideal balance to the knife after adding handle material.

I send out blade for professional heat treating, Peters Heat Treating in Pennsylvania usually does my heat treating to a 58 to 59 on the Rockwell Scale
Upon receipt of the heat treated knives, I grind the blades and flats using 400 grit belts
I make the sheath. Each sheath is cut from double shoulder 9-10 oz. vegetable tanned leather, hand stamped/carved, edges glued with a center welt in place, holes drilled with stainless needle in drill press, hand sewn with waxed nylon thread, wet formed to knife, edges smoothed and waxed, and belt attached to sheath forming belt loop (no threads exposed inside my sheath and no metal (rivets) used). Super Sheen is applied as deemed appropriate to waterproof the leather and to provide luster.